After you have created a case, you can send a case email to the customer when the customer requests. Sometimes customers will request a case email containing task information, so they can constantly keep track on their project and progress.
This tutorial will show you how to send case email.
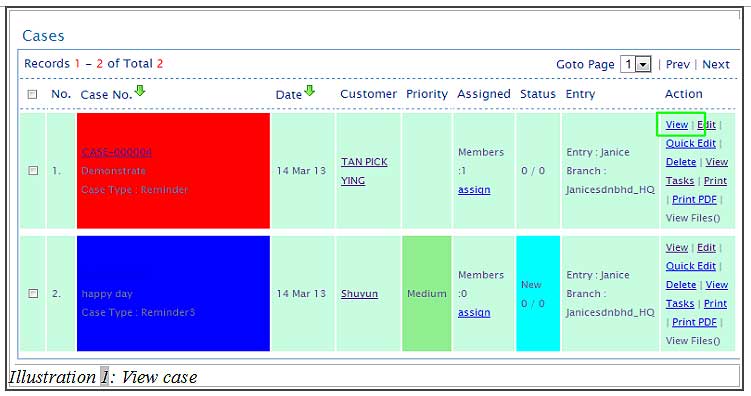
1. Click on the “Case List” (Activity > Cases > Case List).
2. Click on the “View”.
Please click on image to view clearer.
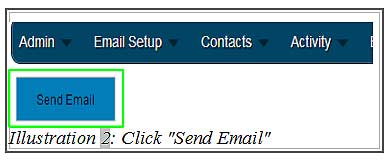
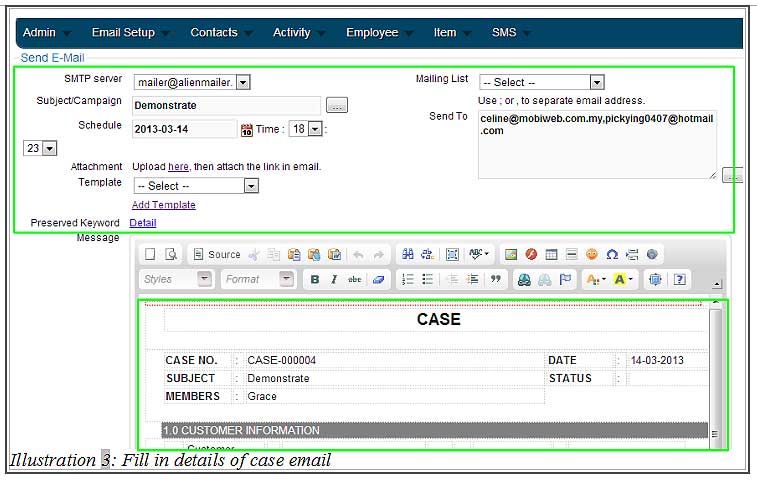
3. Click on “Send Email” below your navigation bar. Then you will get an email form. Fill in the case email details, e.g. SMTP server, Subject, Schedule and Send To. You may insert the emails manually or select a mailing list you have created earlier.
Please click on image to view clearer.
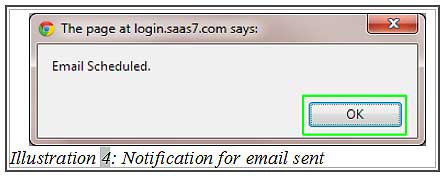
4. A notification will pop up to remind you that the email has been scheduled. Click on “OK”.
Please click on image to view clearer.